-
Shop
- Advanced Technologies
- AI Career Advantage Collection
- AI Skills
- AI Skills for Creators & Freelancers
- AI Client Management
- AI Ethics
- AI Mindset
- AI Tools & Prompts
- AI Writing & Content Creation
- Audio, Voice & Music
- Design & Visual Creation
- Email, Messaging & Communication
- Freelancing & Business
- Marketing, Ads & Conversion
- Productivity, Workflow & Automation
- SEO & Search Optimization
- Social Media Content & Growth
- Strategy, Planning & Analytics
- Video Creation & Editing
- Bathroom
- Beauty
- Best-Sellers
- Car Accessories
- Car Buying & Ownership
- Confidence
- Dating & Social Skills
- Digital Resources
- AI & Technology
- Budgeting & Saving
- Cozy Feast Collection
- Electronics & Technology
- Emotional Intelligence
- Entrepreneurship & Business Growth
- Financial Education
- Financial Independence
- Financial Mindset & Psychology
- Goal Setting
- Hobbies
- Kitchen & Recipes
- Leadership
- Mindfulness
- Mindset
- Motivation
- Online Business
- Positive Thinking
- Productivity
- Self Confidence
- Sleep Improvement
- Smart Life with AI
- Stress Management & Relaxation
- Travel Planning
- Yoga & Fitness
- Yoga & Mind-Body Practices
- Education & Learning
- Family & Parenting
- Gadgets
- Health & Beauty
- Health & Wellness
- Home & Garden
- Home Styling & Organization
- Home Supplies
- Kids & Babies
- Legend Footwear Brands Collection
- Online Business for Beginners
- Parenting & Child Development
- Patio, Lawn & Garden
- Personal Growth
- Personal Style & Fashion
- Pet Care
- Pet Lifestyle & Wellness
- Pet Supplies
- Pets
- Smart Amazon Shopping
- Stress Relief & Relaxation
- TikTok Growth & Monetization Mastery
- Travel
- Travel & Adventure
- Wealth
- Wellness
- Popular
- Best deals
Vans Authenticity Checklist: Real vs Fake Quick Checks
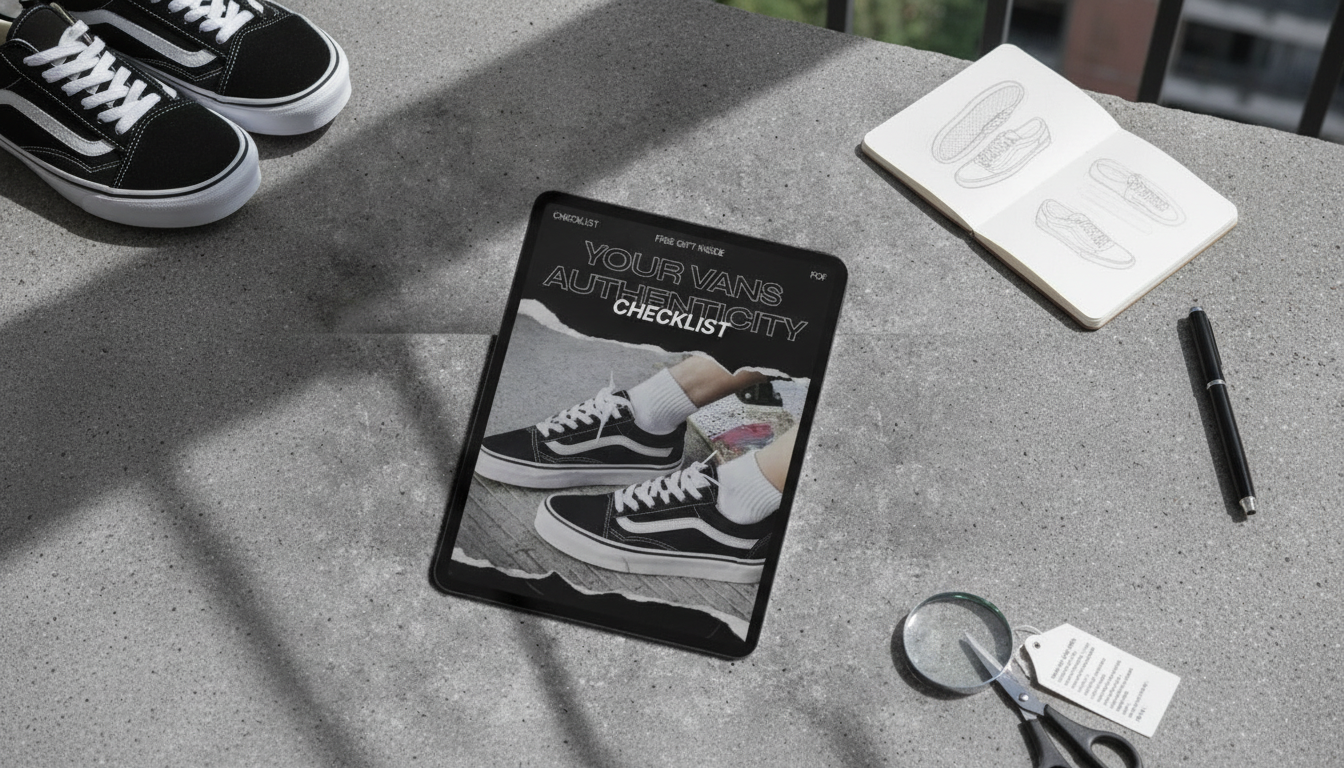
Your Vans Authenticity Checklist: Quick Printable Steps to Spot Real vs Fake Pairs
Counterfeit Vans can look convincing in photos, but small details usually give them away once the box arrives. This printable checklist is designed for fast, repeatable checks—whether buying resale, trading, or verifying a pair already in hand—so the decision is based on consistent signals rather than guesswork.
When a checklist matters most
Not every purchase needs a deep dive, but certain situations raise the odds of running into replicas. A consistent checklist helps keep the process calm and objective.
- Resale marketplace purchases where photos are limited or listings reuse stock images
- “Too good to be true” pricing, especially on popular colorways and collaborations
- Pairs missing a box, missing tags, or sold as “no returns”
- Bulk listings or sellers who cannot provide additional angles (heel, outsole, tongue tag, inside size label)
- Gifts or secondhand finds where the purchase history is unclear
For model and colorway comparisons, it helps to reference official photography and product details on the Vans Official Site. For broader context on why counterfeits are risky beyond aesthetics, see U.S. Customs and Border Protection — Counterfeit Goods.
What to check before meeting the seller
Pre-checks save time. If a seller can’t provide straightforward proof shots, that alone can be a useful signal to walk away.
- Ask for specific photos: box label, size tag inside the shoe, heel branding, outsole waffle pattern, insole print, stitching close-ups, and a straight-on side profile
- Request a short video showing both shoes, the box, and the size label to reduce the chance of bait-and-switch photos
- Confirm the exact model name and colorway; compare with official product photos for that release when possible
- Check seller consistency: same background across photos, clear lighting, and no heavy filters
- Clarify what is included (box, spare laces, extra inserts) and whether any modifications were made
Photo request list for quick verification
| Angle or item | Why it helps | What to watch for |
|---|---|---|
| Box label (SKU/size/barcode) | Cross-checks size and model details | Mismatched size vs shoe label; low-quality printing; odd fonts |
| Inside size label (both shoes) | Most fakes slip up on formatting | Missing info, inconsistent spacing, poor alignment |
| Heel branding | Logo shape/placement is often off | Crooked heel patch; unusual texture or gloss |
| Outsole waffle | Mold details can reveal counterfeits | Uneven waffle depth; messy edges; rubber feels overly stiff or overly soft |
| Tongue tag and stitching close-up | Construction quality is hard to fake | Fraying, skipped stitches, uneven spacing |
Fast in-hand checks that catch most fakes
Once you have the pair in hand, move from “paper trail” to “build quality.” Most counterfeits fail when you compare multiple small details instead of trusting one big impression.
- Box and label consistency: compare size, model, and color description across box label and shoe’s inside size label
- Overall shape and silhouette: look for unnatural toe shape, overly tall sidewalls, or awkward proportions when viewed from the side
- Stitching quality: consistent stitch length, clean corners, no loose threads, and symmetrical panels left vs right
- Materials and feel: canvas/suede should feel appropriate to the model; watch for plasticky uppers or unusually thin canvas
- Odor and glue marks: strong chemical smell or excessive visible glue can be a red flag (though some factory glue marks can happen on legit pairs)
- Outsole and foxing: crisp edges, consistent texture, and clean alignment between outsole and upper
- Insole print and fit: printed branding should be clear; insoles should sit flat without odd lumps or curling edges
A practical routine: do labels first (fastest “yes/no” checks), then shape and stitching (harder to fake consistently), then materials and outsole (the “feel test”).
Real vs fake signs to compare side-by-side
Common authenticity cues (quick reference)
| Checkpoint | Typical on authentic pairs | Common on counterfeits |
|---|---|---|
| Box label + shoe label match | Consistent sizing/model details | Mismatched size, missing fields, odd fonts |
| Stitching consistency | Even stitch length and clean turns | Wavy lines, skipped stitches, loose threads |
| Outsole waffle detail | Clean, consistent pattern depth | Blurry pattern, uneven depth, rough edges |
| Heel branding | Centered, clean edges, consistent texture | Crooked placement, smudged print, unusual shine |
| Material feel | Appropriate weight/hand-feel for model | Plasticky, overly thin, or stiff materials |
Using the printable checklist for a confident decision
Download, print, and keep it with your buy/sell tools
If you want a ready-to-use page you can reuse every time, the Your Vans Authenticity Checklist | Printable Guide to vans real vs fake signs | Sneaker Verification Digital Download is built for quick taps on a phone or a clean printout for meetups.
Two other simple add-ons that pair well with resale routines: Coffee-Ready Cozy – What to Wear for Coffee Meetups Checklist | Effortless Café Outfit Planning Guide for low-effort meetup prep, and Clear Pathways: Mastering High-Traffic Spaces at Home | How to Keep High Traffic Areas Clear | Home Organization Guide for Clutter-Free Living if you’re organizing a growing rotation and want pairs stored safely for future comparisons.
FAQ
What are the fastest ways to spot fake Vans?
Start with label consistency (box label vs inside size tag), then check outsole waffle sharpness, stitching quality, and heel/tongue branding alignment. One major mismatch (especially labels) is usually more meaningful than several minor finish issues.
Can authentic Vans still have small flaws like glue marks?
Yes. Minor cosmetic imperfections can happen on authentic pairs, so it’s best to weigh multiple signals together and treat construction or labeling inconsistencies as higher-risk than small glue marks alone.
What photos should be requested from a seller before buying?
Request the box label, inside size label (both shoes), heel branding, outsole waffle, tongue tag close-up, and a straight side profile in good lighting. A short video showing the exact pair alongside the box helps reduce bait-and-switch risk.
Recommended for you

Easy-Access Closet System: Declutter, Zone, Maintain
Jun 26, 2026













Leave a comment